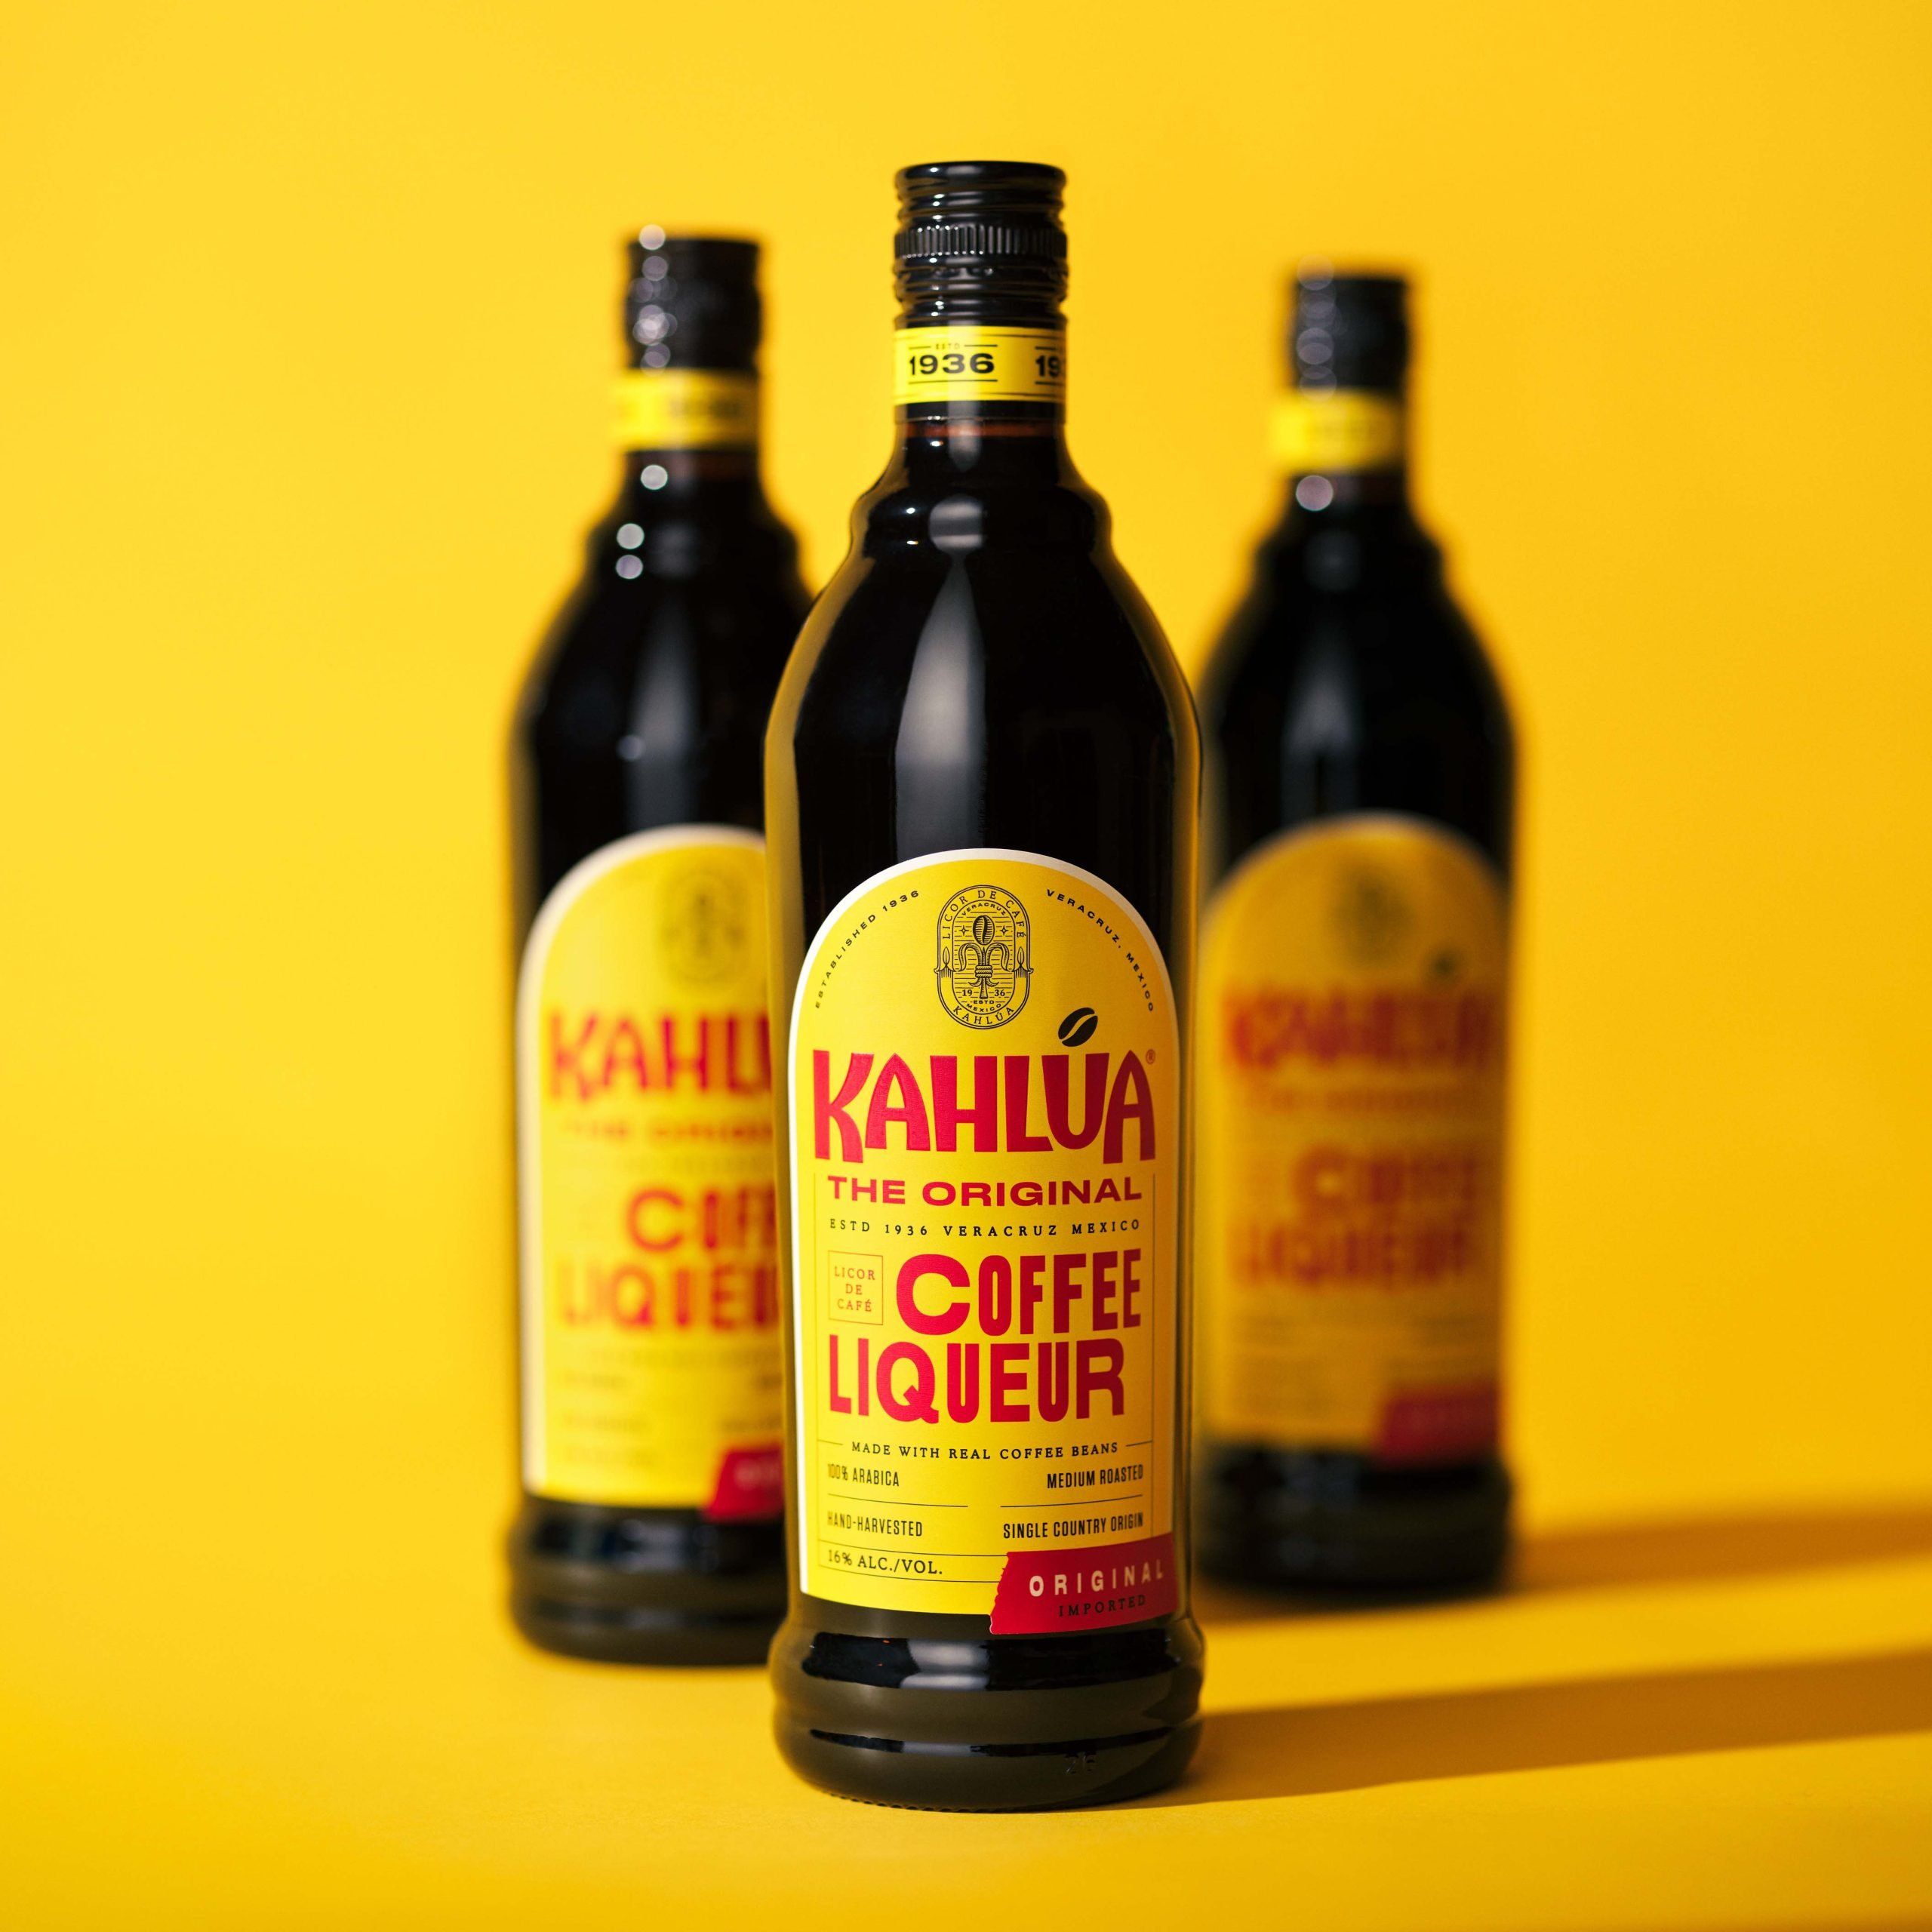
Kahlúa Products
Meet all our Kahlúa products. From salted caramel to chili chocolate, we have lots of unexpected and delicious Kahlúa flavors to explore.
Recipe by: @Calebs.Cuisine .
Written by: Kahlúa Drinks Team Kahlúa Drinks Team Our team of Cocktail Pros with a passion for crafting and sharing delicious coffee-based drinks recipes.


Prep time: 15 Mins. Set time: 4 Hours.

Servings: 15
Coffee Layer:
180 ml cold brew or espresso
60 ml water
14 g unflavoured gelatin
30 ml brown sugar syrup
120 ml Absolut Vanilla Vodka
Cream Layer:
120 ml creamy oat creamer
14 g unflavoured gelatin
120 ml Irish cream liqueur
60 ml Kahlúa Coffee Liqueur
Garnish:
chocolate coffee beans
Coffee Layer:
3 parts cold brew or espresso
1 parts water
14 g unflavoured gelatin
0.5 parts brown sugar syrup
2 parts Absolut Vanilla Vodka
Cream Layer:
2 parts creamy oat creamer
14 g unflavoured gelatin
2 parts Irish cream liqueur
1 parts Kahlúa Coffee Liqueur
Garnish:
chocolate coffee beans
Pour the coffee and water in a saucepan and whisk together.
Sprinkle over the gelatin, and leave to bloom for 5 minutes.
Heat gently until dissolved, then stir in the brown sugar syrup and Absolut Vanilia vodka.
Let it cool slightly then pour into shot cups, filling them halfway.
Chill them in the fridge for 2 hours until set.
In a clean saucepan, pour in the creamer, sprinkle over the gelatin, and let it bloom for 5 minutes.
Heat gently until dissolved, then stir in the Kahlúa and Irish cream liqueurs.
Let it cool slightly, then gently pour over the set coffee layer in the shot cups.
Chill in the fridge for another 2 hours until set.
Top with chocolate coffee beans, and enjoy!
Measuring tools
Accurate measuring keeps the layers balanced and helps the jelly shots set properly. Our suggestion is using a measuring jug for the larger liquid amounts, a shot measure or jigger for making the spirits easy to portion, and a kitchen scale for the gelatin.
Small saucepan
We suggest using a small saucepan for gently heating the mixtures, especially when dissolving the gelatin. We found a low, even heat keeps the mixture smooth and avoids boiling, which can weaken the set and dull the flavour.
Whisk
A whisk helps you combine the coffee, water, sprits, and gelatin evenly, which matters because gelatin can clump if it’s not mixed well. We found a small balloon whisk works best, but a fork can do the job if you’re improvising. Our tip is not to whisk too aggressively, so you don’t create too much foam.
Shot cups
We found using clear plastic shot cups are best for serving because they beautifully show off the two layers. If you want a different look, try small dessert glasses or mini coupes. Just make sure they’re stable in the fridge and easy to fill in layers.
Heatproof jug
We recommend pouring the mixture into a heatproof jug after heating because it makes it easier to cool. We found a jug also helps to pour the mixture into the shot cups without drips.
Fridge space and tray
This may sound obvious, but you’ll need enough flat fridge space for the cups to chill undisturbed. A level shelf helps the layers set evenly and keeps the tops neat. If fridge space is tight, use a tray so you can move the whole batch at once without spilling.
We recommend sprinkling the gelatin over the mixtures and leaving it to bloom for the full 5 minutes. We found that pause lets the granules absorb the liquid and dissolve smoothly later. When we skipped this step, we got a grainier texture and uneven setting.
Gelatin likes warmth, not a boil. We suggest heating just until the gelatin dissolves, then taking it off the heat straight away. Too much heat can weaken the set, which means soft, slumping layers instead of a clean jelly shot.
Our tip is to chill the coffee layer for the full 2 hours until it’s properly set before pouring on the cream layer. If the base is still soft, the layers can blend together. You want a defined split for the best look.
We recommend letting the cream layer cool a little before it goes onto the coffee layer. If it’s too warm, it can melt the base and blur the layers. A slightly cooled mixture gave us better control and a cleaner finish. Our pro tip is to pour the cream gently over the back of a spoon to soften the impact and let it settle on top instead of breaking through.
For a personal touch, we suggest making your own chocolate coffee beans. Simply melt some chocolate and pour it into coffee bean moulds, then place them in the freezer for 30 minutes until they harden.

Kahlúa Coffee Fudge Brownies

Kahlúa Coffee Cheesecake

Kahlúa Pumpkin Pie

Kahlúa Coffee Caramel Sauce

Kahlúa Banana Bread

Kahlúa Tiramisu

White Russian Popsicles

Coffee Ice Cream
The Espresso Martini Jelly Shot takes everything we love about the world-famous coffee cocktail and gives it a playful, party-ready style that’s both a dessert and a shot in one.
This stunning and indulgent recipe made by @Calebs.Cuisine mixes the bold coffee flavours of Kahlúa and cold brew with smooth Absolut Vanilia vodka, Irish cream liqueur and oat creamer in neat and contrasting little layers that set with a fun wobble.
Top it off with chocolate coffee beans, and you have a glossy, decadent show-stopper of a treat that tastes rich, slightly sweet, and coffee-forward with a hint of creamy goodness.
We love this recipe because it the kind of treat that fits naturally into lots of different occasions. We can bring it out after dinner as a sweet dessert, serve it at a pre-party when we want something fun but still a little fancy, or set it on a drinks table for birthdays, celebrations, and casual gatherings.
Not in the mood for jelly? Shake things up with an Espresso Martini Shot – small in size, big on coffee flavour.
Jelly Shots are small, chilled alcohol shots made with gelatin, usually in small cups. Over the years, they have become a party staple because they’re easy to portion, easy to serve, and fun to sip. The Espresso Martini Jelly Shot is a playful, layered twist on the classic.
As far as we know, there isn’t one confirmed inventor of Jelly Shots. They seem to have grown out of gelatin desserts and alcohol-infused dishes that became popular over time. Our tip is not to get too hung up on the origin story, the real magic is in how the format keeps evolving.
The hands-on part usually takes 15 to 30 minutes, depending on how many you’re making. The real time is in the chilling, which takes around 4 hours. We suggest treating them like a make-ahead recipe, because the fridge does the heavy lifting.
In this recipe, we recommend chilling each layer separately for at least 2 hours to get the best result. Here’s a pro tip: if the base still feels soft, wait longer, it’s worth it for the clean layer line.
All Jelly Shots can go bad if they’re stored too long or left out at room temperature for extended periods. Our Espresso Martini Jelly Shots usually last around 3 days in the fridge if they’re covered well, but we recommend serving within 24 to 48 hours. After that, the texture can start to soften, and it may lose its shine.
We don’t recommend it. Freezing Jelly Shots changes the gelatin structure, which can leave you with a watery or grainy texture once they thaw. We suggest sticking with the fridge, because that’s what keeps the set smooth and the wobble just right.
Absolutely, the espresso gives a deeper, more intense coffee flavour, while cold brew tastes a little smoother and rounder. We suggest using whichever suits your taste and what you have on hand. If you’re using powdered coffee, remember to make sure it dissolves fully and tasting it before setting.
No, but vanilla vodka adds a soft, dessert-like note that works really well here. If you swap it out for regular vodka, the coffee flavour becomes a little sharper and less rounded. Our tip is to add a few splashes of vanilla extract if you’re going with a plain vodka.
Kahlúa brings the coffee depth that makes the whole shot taste complete. It adds richness, aroma, and that signature coffee-liqueur character that ties the layers together. We think it’s the ingredient that makes the cream layer taste intentional rather than just sweet.
For sure! We like to make a non-alcoholic version by replacing the liqueurs and vodka with coffee syrup, vanilla syrup, and a creamy non-alcoholic alternative. The texture will still work, though the flavour will be less sharp and more coffee-dessert in style.
This usually happens if the gelatin wasn’t bloomed fully, the mixture was boiled, or the ratios were off. We suggest measuring carefully and keeping the heat gentle. If the mixture is too warm when it goes into the fridge, it can also slow the set.
The key is a fully set first layer and a cooled second layer. We also recommend pouring slowly and, if needed, over the back of a spoon. That reduces the impact and helps the layers stay distinct.
Of course! Dairy cream will make the top richer and heavier, while oat creamer keeps it a little lighter in texture. We suggest choosing based on the flavour and finish you want.
Yes, but you’ll lose the visual contrast and some of the flavour balance. The two-layer build gives you coffee intensity below and creamy softness on top. Plus, it looks great.
That usually means the coffee layer wasn’t fully set or the cream mixture was too warm. We recommend chilling the base longer and letting the top cool slightly before pouring. Those two steps solve most sinking issues.
Yes, but only if you know the conversion for the brand of gelatin sheets. We suggest following the packet instructions carefully, because sheet strength can vary.
Feel free to experiment. Clear cups show off the layers best, but small dessert glasses, mini jars, or even small bowls all work well. We recommend choosing something easy to chill and easy to serve
Easy, simply reduce the amount of brown sugar syrup in the base layer. We recommend tasting before adding the gelatine to get the right sweetness.
We’ve tried a dusting of cocoa powder and a few chocolate shavings, and they both work well. We suggest keeping the garnish light so it doesn’t overpower the shot. We’ve tried a dusting of cocoa powder and a few chocolate shavings, and they both work well. We suggest keeping the garnish light so it doesn’t overpower the shot.
Yes, this recipe scales well. We recommend keeping the ratios exact and using a larger jug for mixing. For a bigger batch, it helps to line up the cups on trays so filling and chilling stay manageable
We suggest serving them well chilled, straight from the fridge, and ideally on a tray or platter so they stay stable. Our tip is to bring them out just before guests are ready to enjoy them. That keeps the texture firm and the garnish looking its best.

Kahlúa Products
Meet all our Kahlúa products. From salted caramel to chili chocolate, we have lots of unexpected and delicious Kahlúa flavors to explore.
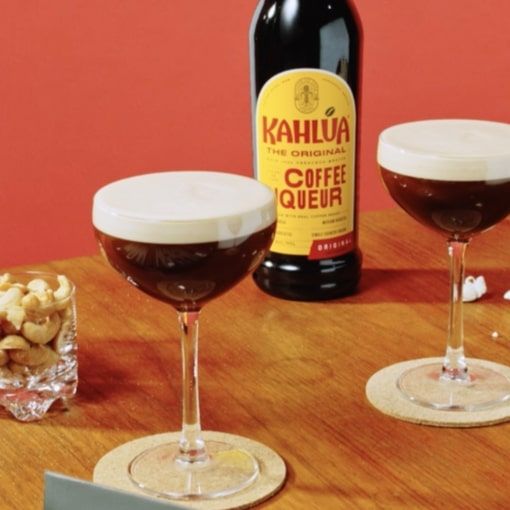
Kahlúa Collections
Looking for a quick recipe to whip up for a specific occasion, or do you need inspiration to impress your guests? You’ll find it all here.
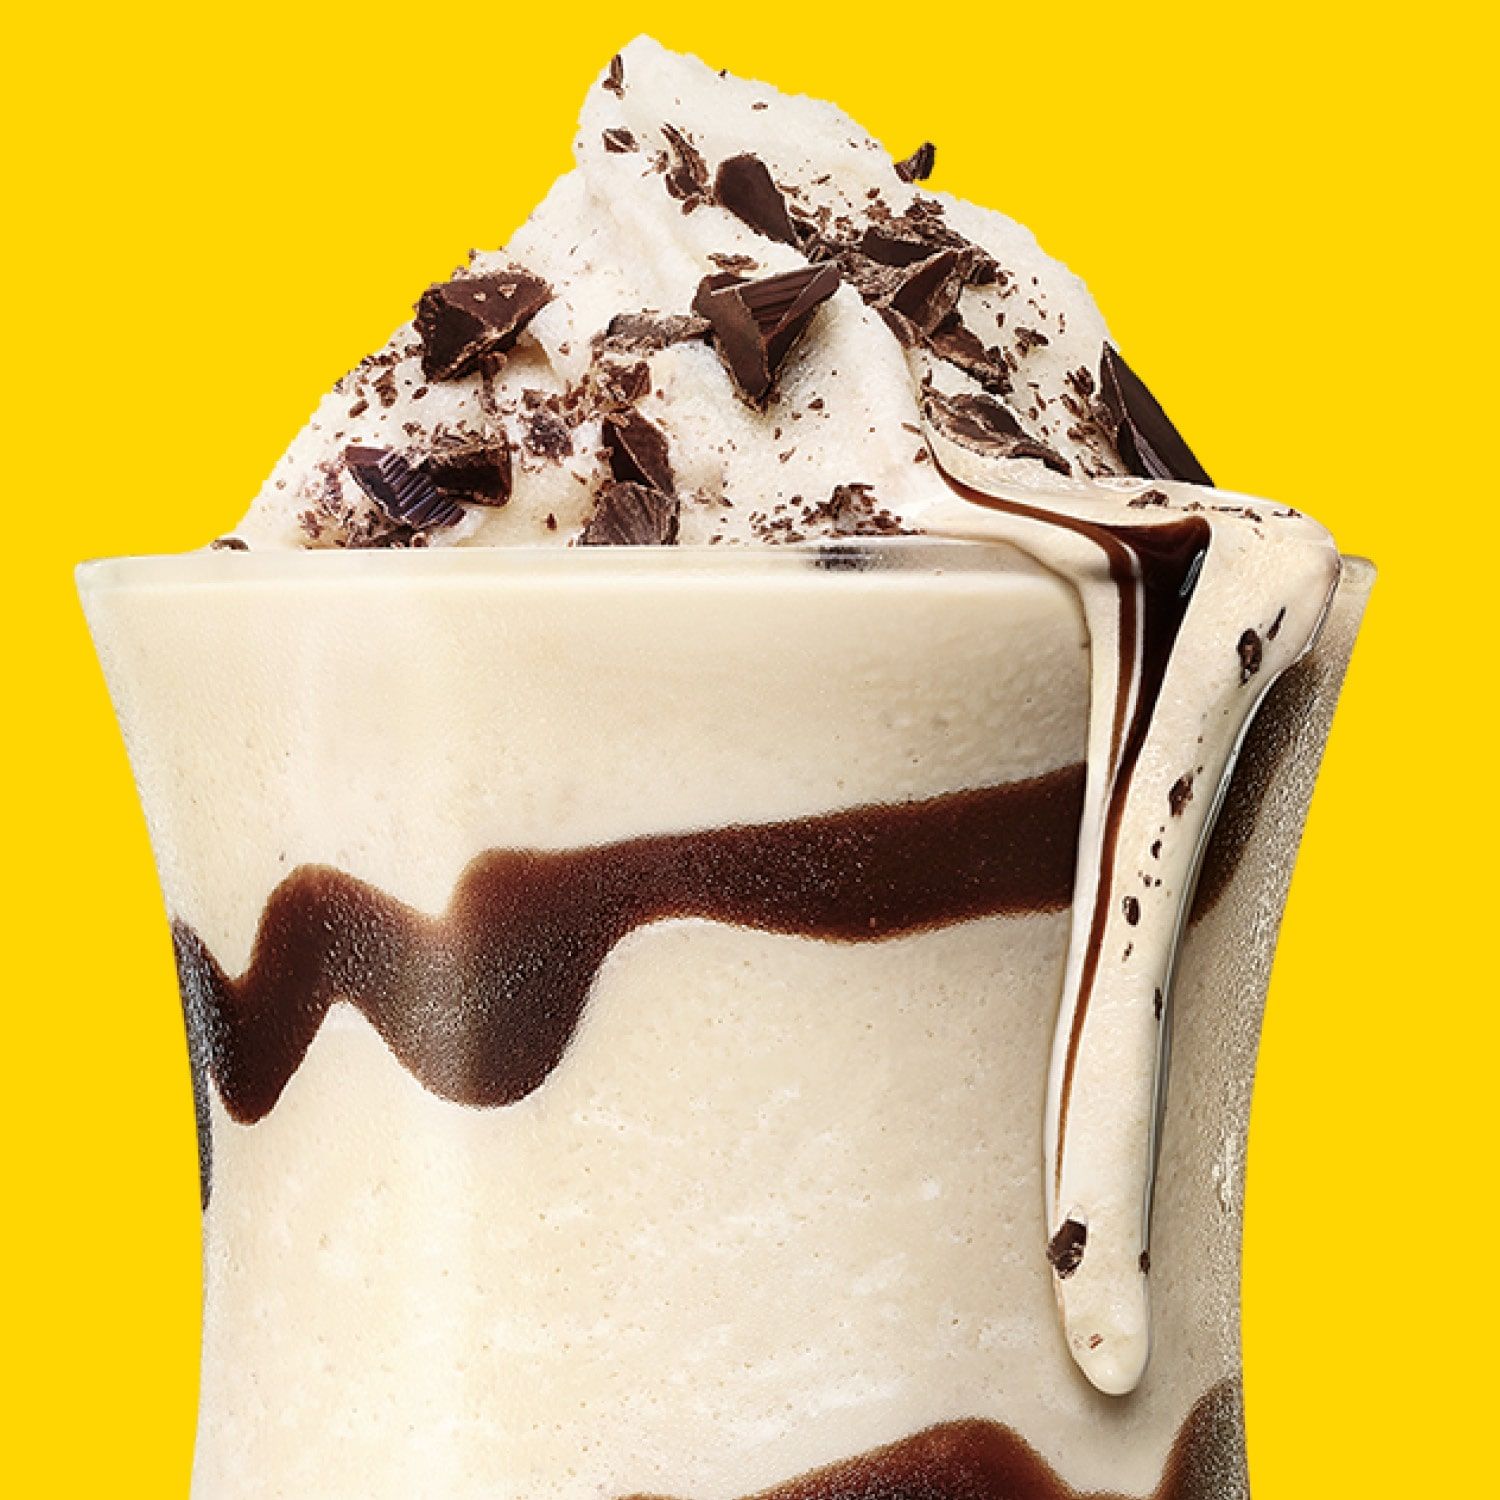
Kahlúa Drinks
Looking for a drink recipe? Or do you just want to know what to mix Kahlúa with? Filter by taste and product to find the next drink you’d love to try.

Coffee For Good
Read about our programme supporting participating coffee-growing communities in Veracruz, Mexico.
 Canada (EN)
 USA (EN)
 Australia (EN)
 UK (EN)